
placing the basic panel of the façade
The basic element of the façade is a phenolic panel which stands exterior weather conditions without any problem. It will be directly screwed on the beams and pillars making the structure more rigid. From this panel on the façade will grow towards inside with the interior façade modules or towards outside with the ventilated façade modules. In our particular case the basic panel has already been prepared to hang up the ventilated façade modules. If the ventilated façade is not desired in the beginning, it will be able to be added later on without any problem.

In these two pictures you can see how one of the phenolic panels is being placed in the façade. Later the beams and pillars will be screwed in the remaining gap.
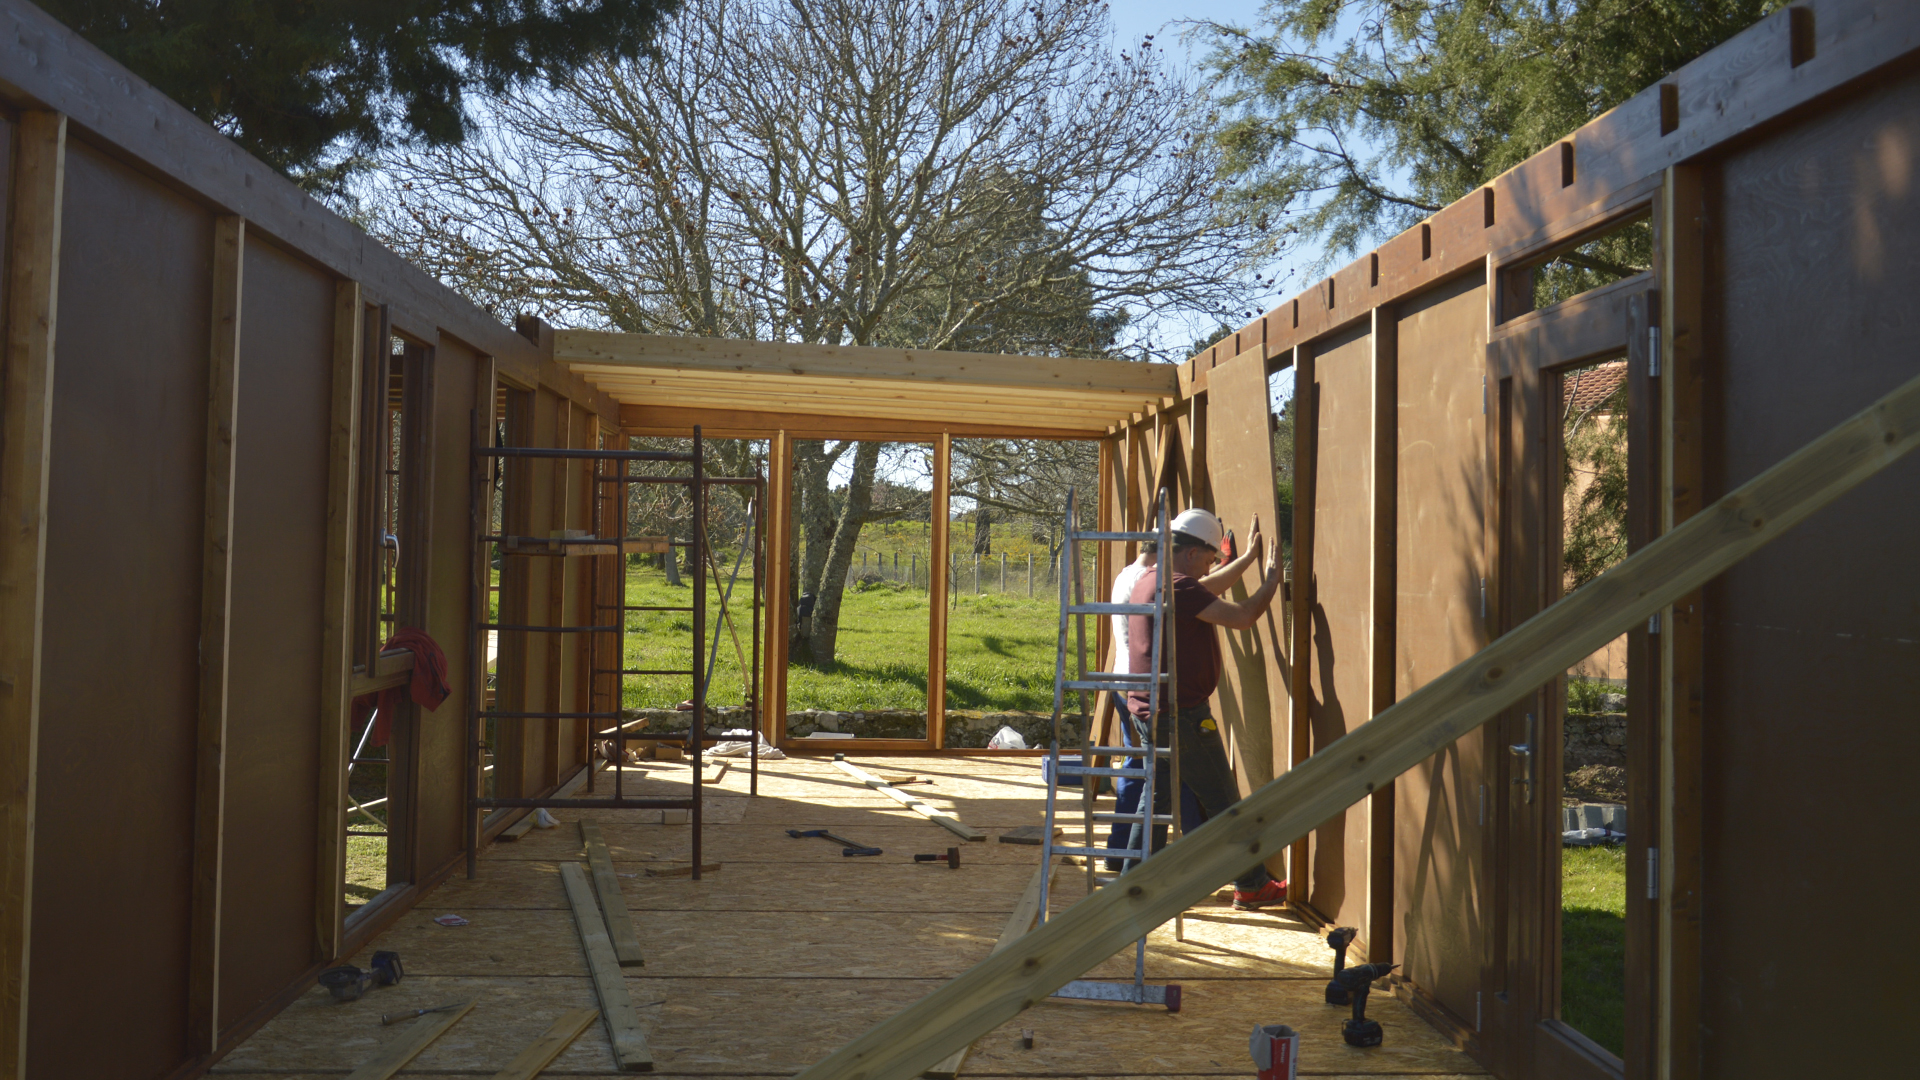
In the photo below you can see the basic panels from the outside of the building. The ventilated façade will be laid over them. This is the moment to place the doors and the windows of the façade, too.

ensembling the roof
Once the facade is rigid we start setting the joists of the roof. When fitting in and screwing the joists in the beams of the ceiling, the volume of the house becomes very resistant.


When all the joist of the roof are placed, a DM panel is fitted in the inferior part of them. The isolation of the roof is placed over the DM panel. All over the house the floor and the walls have an isolation of 15 cm of rock wool, as you can see in the photo below.

As the isolation is being placed, a superior panel, OSB of 20 mm, is also being placed in the roof. A perfect inclined plane is formed and tracks are placed over this plane to create an air chamber in the roof. In the pictures below you can see how the panels OSB are brought to the roof and how the air chamber is formed.


ensembling the modules of the ventilated façade
In this house the ventilated façade is composed of a wooden substructure and surface finish in viroc, a panel of wood-cement. Each module is hung up from the basic panel of the façade and it is screwed in the beam of the ceiling. The module of the ventilated façade creates an air chamber with the basic panel. This air chamber can be either open or closed, performing as an isolation chamber in winter or ventilation chamber in summer. The reason why we have chosen wood-cement material in the surface finish is to integrate the house better in the rural nucleus, where all the houses are made of stone and because there are many stone walls and powerful rocks in the immediate environment.


ensembling the interior modules of the façade
Now the house is protected from wind and rain and we start placing the interior modules of the façade. The module is composed of a panel of okume of 4 mm, which protects the 15-cm-thick isolation of rock wool inside of it. This is finished with a panel of 15 mm, which can have any interior finishing material. In this case the clients want to paint the walls and that´s why this panel is DM waterproof. When setting the interior module of the façade over the basic panel another air chamber of 3 cm is formed.


modules of the interior partition wall
Partition walls of the inside are also modules and they are made of DM panels of 10 mm with 8 cm of isolation between two panels. These modules are united together by some wooden pieces which allow passing installations inside of them. In this first picture we can see some modules of the partition walls receiving isolation material in the factory.

In the following photos you can see how the partition wall is set. First, fitting it in between the interior modules of the façade and the joists of the ceiling, and second, fitting them in together by a union piece.


Once all the interior partition wall has been placed it´s time to start to pass all installations through the huge amount of space that has been reserved for them. You´ll see how the installations will be accessible in any section not needing to touch facades, floor, ceiling nor interior partition walls. To be continued….